So the Holiday season has come and gone yet again. I may have been quiet on the blog the last few weeks, but we sure have been busy crafting, party planning, and decorating! I'll have lots to share in the coming weeks.
I figured it would be best to start with the second half of our ornament project. I had held back on blogging about them because the Disney themed ones were a gift for my family. Crafty Kid had a great time making these and I was glad I came up with the idea because they were easy to make as well. We really loved making the spiral paper ornament! It was a lot of fun to do and such a beautiful result.
For this craft you will need the following:
- Double sided scrapbooking tape
- Mickey scrapbooking paper (or character of your choice)
- Paper Slicer or sharp scissors
- Q-Tip or a pencil
- Styrofoam or Epson salt (if you want to add "snow")
The first round of ornaments Crafty Kid and I were having trouble deciding what looked best inside the ornament. Some of our issues were that in order to get bulkier items to stay we needed glue, which was difficult to use due to the small opening on the top of the ornament. The paper items often just fell on their side and again gluing them to the wall of the ornament was a bit of a process. Not to mention only one side of the paper had a print on it so if it flipped over it just looked like white paper.

We had some scrapbook paper with larger sized Disney character faces on it, and luckily before we went to use it I had a breakthrough. I realized we could glue two of the characters together so there was a design on both the front and the back. In the ornament above we cut out two of the Mickey faces and glued them together with double sided tape. Then we rounded off the edges with a small, sharp pair of scissors.

We then put the double sided Mickey paper inside the ornament. We were super happy to see it stood up inside the ornament. We had some packing styrofoam I saved, so we broke it into pieces to put inside the ornament to create a snow globe effect. Crafty Kid really LOVES her glitter glue so she put some drips of it on the outside of the ornament.

For the Minnie and Pluto ornaments above we followed the same initial steps. Once the Minnie paper was inside the ornament we used Epson salt as snow and Crafty Kid dotted the top with white glitter glue. For the Pluto ornament she decided she wanted to dot the entire ornament and leave just the Pluto paper inside.
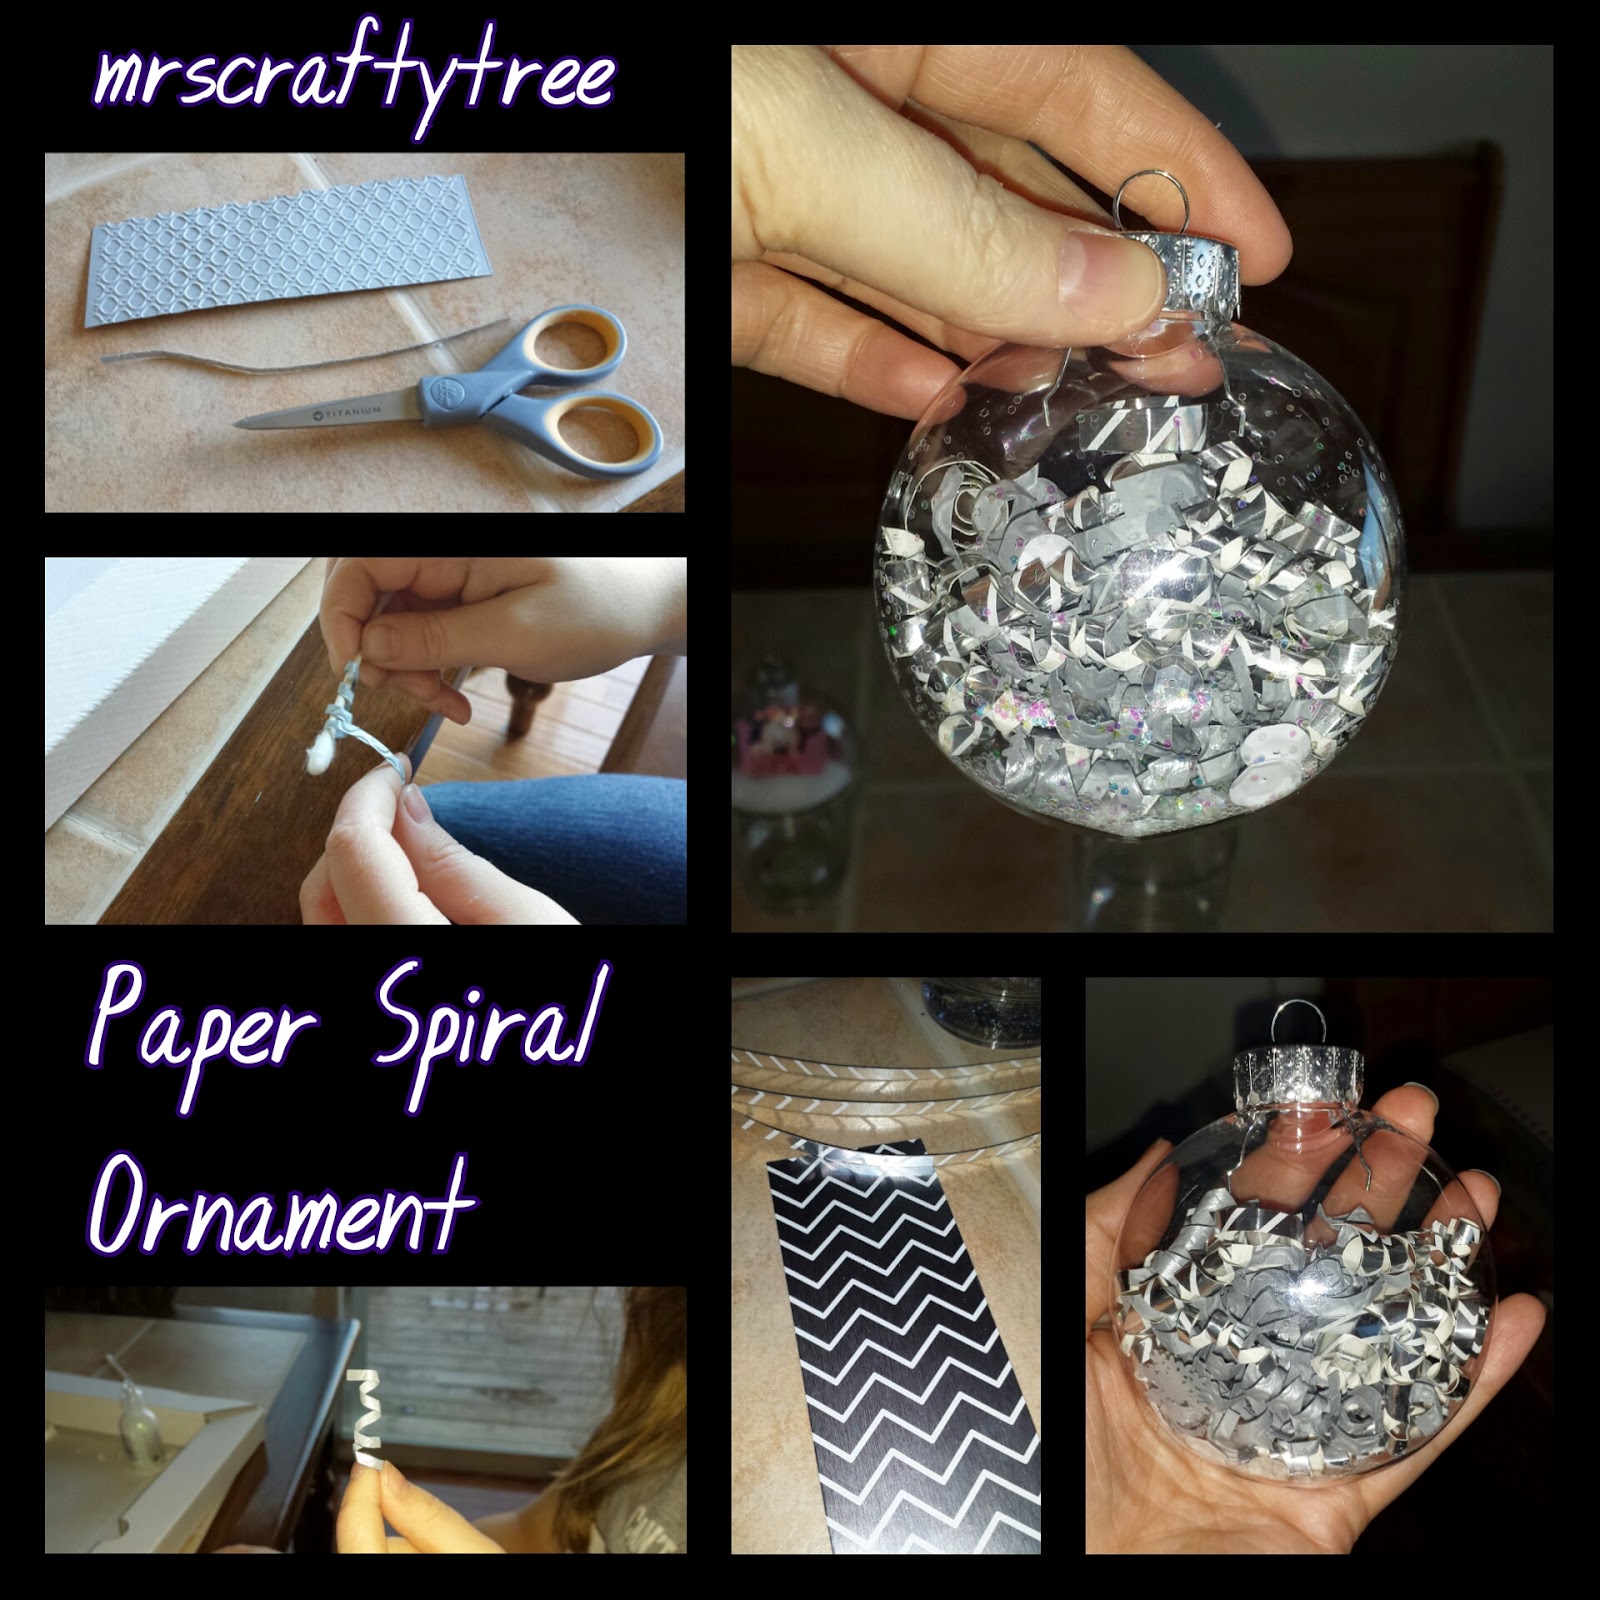
This ornament above is hands down my favorite! We were messing around with some smaller strips of scrap paper and came up with the idea to spiral it. I showed Crafty Kid that she could use a Q-Tip to roll up the paper and she ran with it! We used a couple different shades of silver paper. I cut the thin strips and she rolled them up. Some we stuck inside at that length, others we cut to different lengths. It came out so pretty.
Note: We put some glitter and flat white gems inside. I don't think it's necessary. You can barely tell unless you look very closely at the bottom, which is where they sank to. That's the beauty of the paper is it's so light as a spiral it has a floating effect.

So as promised from my previous Holiday Ornaments: Part 1 blog, above is my melted snowman Pinterest fail. Mine, of course, is the one in the right hand corner. Honestly it doesn't look as bad as I remember, but it still wasn't as cute as what I saw on Pinterest.
Just goes to show that not all craft projects are as easy to replicate as you think. That's why when I blog I do my best to go step by step. I hope it's helping those reading with some ideas and inspiring you to craft on!


